Word’s default settings hide crucial formatting information. Professional editing of Word docs requires you to change the program’s display parameters.
In effect, paragraph formatting is stored in the paragraph mark and section formatting is stored in the section break after the relevant content. But Microsoft decided users wanted a pretty interface rather than a functional one, so they chose to hide both entities by default. Every hour of every day, thousands of documents are getting mangled because of this design decision.
Likewise, every graphic in a Word document is anchored to a paragraph. Delete the paragraph, poof, graphic gone. Move the text to a new page and the graphic moves with it. But the anchor is invisible! Let’s fix this!

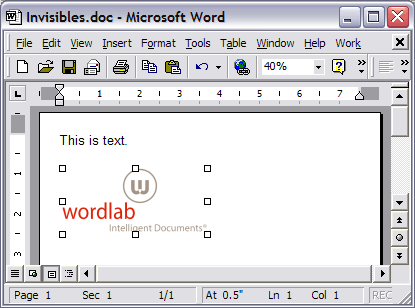
The normal Word view: pretty, but not informative.
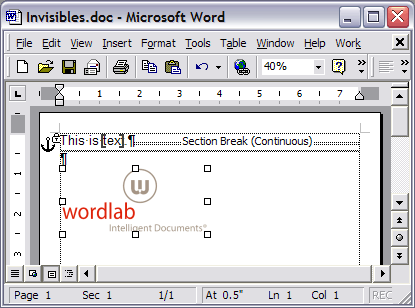
Here we can see that the graphic is anchored to the first paragraph and that anchor is locked. The first paragraph is separated from the second by a continuous section break, which means the page formatting could be totally different for the two paragraphs. The word “text” has been bookmarked. We can take care to format this without ruining any of these characters, now that we can see them.
Word’s Useful View
How to Set Up Word for Windows for Professional Editing
The first step to professional editing in Word is to display all the hidden formatting marks. Here’s how to do that in each version:
Word 2004, Word 2008 and Word 2011
- Choose Word>Preferences>View.
- Under Show, check Object anchors, Bookmarks and Text boundaries.
- Under Nonprinting characters, check All.
- Under Window, Vertical ruler should already be checked. If not, check it.
Word 2016
- Choose Word>Preferences>View.
- Under Show in Document, check Object anchors and Bookmarks.
- Under Show Non-Printing Characters, check All.
- Under Show Window Elements, Vertical ruler and White space between pages in Print Layout View should already be checked. If not, check them.
Some Useless Options
Unchecking these options can save your time and sanity:
- When selecting, automatically select entire word, to enable per-character formatting and correcting,
- Keep track of formatting, so Word will not create a new style for every little formatting change, and
- Scale content for A4 or 8.5×11″ paper sizes, so all branding and placed graphics will print undistorted.
Just doing these steps will give you a leg up on 99% of the rest of the world in terms of professional formatting in Word. The great majority of formatting screwups are the result of inadvertently deleting the hidden formatting characters. Next post, we’ll get into more details about how these formatting marks actually work.